In 2023, a study by the University of Hertfordshire made national headlines. Researchers purchased 100 second-hand devices from online marketplaces and eBay sellers across the UK. Every single seller claimed they had wiped their device before selling it. The researchers recovered personal data from 56 of them.
Photos. Emails. Saved passwords. Banking app tokens. In one case, a complete browsing history going back two years.
The common thread? Every one of those sellers had done a factory reset and assumed that was enough.
Here is the uncomfortable truth: a factory reset alone does not guarantee all your data is gone. Depending on your device, its age, and its operating system, a factory reset might only remove the index that points to your files, not the files themselves. It is the digital equivalent of tearing the contents page out of a book and claiming the chapters no longer exist.
This guide is the complete checklist that actually protects you. It works for phones, laptops, and tablets. It covers iPhones, Android devices, Windows laptops, MacBooks, and iPads. And as a bonus, following it properly will also help you get a better price when you sell.
Let us get into it.
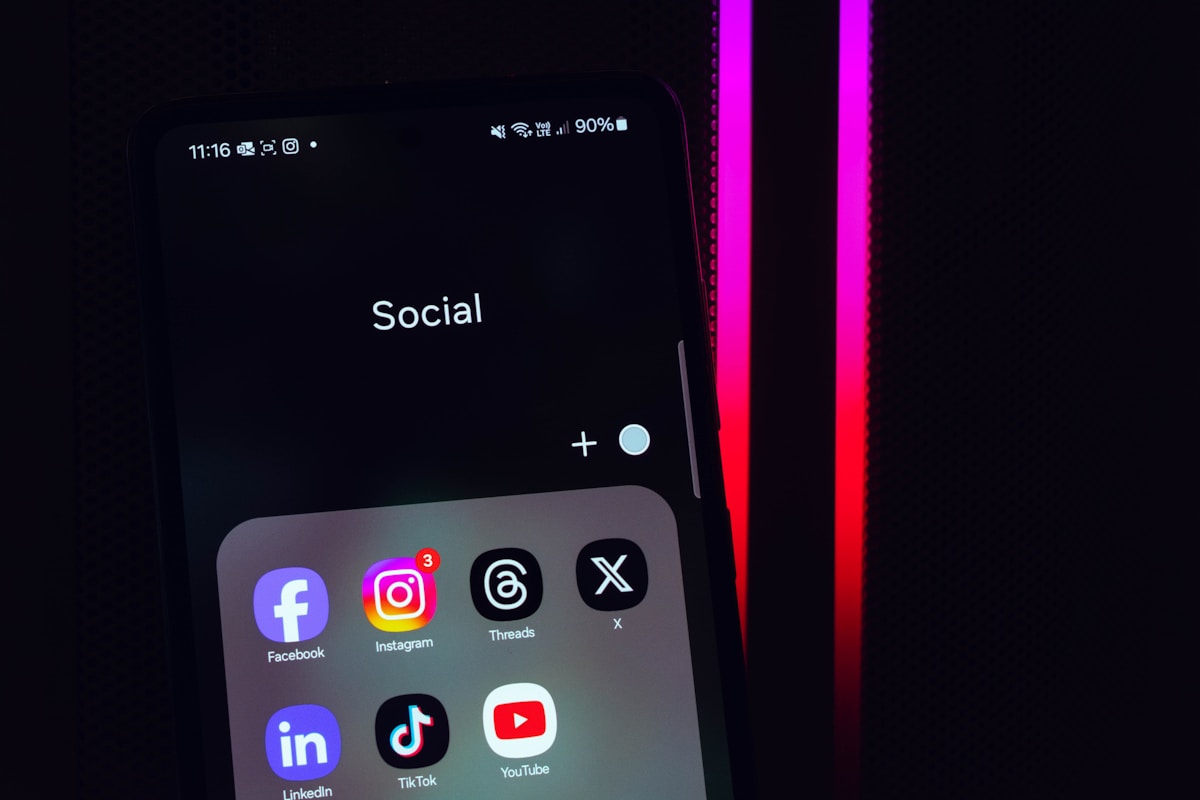
Why Device Prep Matters More Than You Think
There are two reasons to prepare your device properly before selling it, and most people only think about one of them.
Reason 1: Data Security
Your phone or laptop is the single most personal object you own. It holds more intimate detail about your life than your diary, your wallet, and your filing cabinet combined. When you sell it without properly wiping it, you are handing a stranger the keys to your digital life.
The risks are not theoretical:
- Identity theft: Saved passwords, autofill data, and email access can be used to take over your accounts.
- Financial fraud: Banking apps, cryptocurrency wallets, and payment services may leave recoverable tokens.
- Personal exposure: Private photos, messages, and documents can be recovered and misused.
- Account hijacking: If you remain signed in to Google, Apple, or Microsoft accounts, the new owner may have access to your cloud storage, email, and linked services.
Reason 2: A Better Price
This is the one most people miss. When you send a device to a buyback service like TechLoop, the first thing they do is check whether it is locked to an account. If your iPhone still has Find My turned on, or your Samsung still has a Google account signed in with Factory Reset Protection active, the device is effectively a brick to the buyer.
That means delays, reduced payouts, or the device being sent back to you.
A device that arrives clean, unlocked, and ready for resale gets processed faster and paid faster. If you want same-day payment, proper preparation is how you get it.
The Universal Checklist
Before we get into device-specific steps, here is the checklist that applies to every device you sell, whether it is a phone, laptop, or tablet.
| Step | Why It Matters |
|---|---|
| Back up your data | You cannot undo a wipe. Make sure everything important is saved elsewhere first. |
| Sign out of all accounts | Prevents activation locks and gives the new owner a clean start. |
| Deregister the device | Remove it from your Apple ID, Google account, or Microsoft account device list. |
| Remove SIM and memory cards | Your SIM holds your number. Your SD card holds your files. Take both out. |
| Unpair Bluetooth accessories | Especially watches, earbuds, and smart home devices that are linked to your accounts. |
| Disable Find My Device | This is the single biggest cause of buyback delays. |
| Encrypt then wipe | Encrypt first, then factory reset. This makes data recovery virtually impossible. |
| Check the result | After wiping, go through the setup process to confirm the device boots to a fresh welcome screen. |
Now let us walk through the specifics for each device type.
Phone-Specific Steps
Preparing an iPhone for Sale
Apple's encryption is strong. If your iPhone is running iOS 8 or later (which covers every iPhone from the iPhone 6 onwards), a factory reset performs a cryptographic erase. This does not just delete your files — it destroys the encryption key that makes them readable. That is about as secure as it gets.
Here is the step-by-step process:
1. Back up your iPhone
Go to Settings > [Your Name] > iCloud > iCloud Backup and tap Back Up Now. Alternatively, connect to a Mac or PC and back up through Finder or iTunes. Do not skip this step. Once you erase, there is no going back.
2. Unpair your Apple Watch
If you have an Apple Watch paired to this iPhone, unpair it first. Open the Watch app on your iPhone, tap your watch, tap the info icon, and select Unpair Apple Watch. This automatically backs up your watch and removes the Activation Lock from it.
3. Sign out of iCloud and the App Store
Go to Settings > [Your Name] and scroll to the bottom. Tap Sign Out. You will be asked to enter your Apple ID password. This step is critical. It disables Find My iPhone and removes the Activation Lock. If you skip this, the buyer receives a locked device.
4. Deregister iMessage and FaceTime
If you are switching to a non-Apple phone, go to selfsolve.apple.com/deregister-imessage and deregister your phone number from iMessage. If you are staying with Apple, this happens automatically when you set up your new device.
5. Erase all content and settings
Go to Settings > General > Transfer or Reset iPhone > Erase All Content and Settings. Confirm the action. Your iPhone will restart and display the Hello screen. That is how you know it is clean.
6. Remove the SIM card (or deactivate eSIM)
Use the SIM ejector tool (or a paperclip) to pop the SIM tray. If you use an eSIM, go to Settings > Mobile Data and delete the eSIM plan before erasing. Some carriers require you to contact them directly to transfer an eSIM.
At this point, your iPhone is ready to sell. You can get a quote on TechLoop to see what your model is worth.
Preparing an Android Phone for Sale
Android is where things get more nuanced. Older Android devices (pre-Android 6) did not encrypt by default, which means a factory reset left recoverable data on the storage chip. Modern Android phones (Android 6 and later) encrypt by default, so the situation is much better. But it is still worth being thorough.
1. Back up your Android phone
Go to Settings > System > Backup (the exact path varies by manufacturer) and make sure your Google backup is current. Check that photos are synced to Google Photos or another cloud service.
2. Encrypt the device (if not already encrypted)
Go to Settings > Security > Encryption. If it says "Encrypted," you are already covered. If not, encrypt the device before doing anything else. This process can take 30 minutes to an hour and your phone needs to be plugged in.
3. Remove your Google account
Go to Settings > Accounts > Google and remove your Google account from the device. This is essential. If your Google account is still on the phone when it is factory reset, Factory Reset Protection (FRP) kicks in and locks the phone to your account. The buyer will see a screen saying "This device was reset. To continue, sign in with a Google account that was previously synced on this device." That makes the phone unsellable.
4. Remove screen lock and disable Find My Device
Go to Settings > Security and set the screen lock to None. Then go to Settings > Security > Find My Device and turn it off.
5. Factory reset
Go to Settings > System > Reset > Erase All Data (Factory Reset). Confirm and wait for the process to complete. The phone should restart to the initial setup screen.
6. Remove SIM and microSD cards
Pop the SIM tray and remove everything. If your phone has a microSD card, do not forget it. That card might hold photos, downloads, and app data.
Once your Android phone is prepped, check your quote on TechLoop to find out what it is worth.
Laptop-Specific Steps
Preparing a Windows Laptop for Sale
Windows laptops require a bit more effort because a standard "Reset this PC" option has two modes, and only one of them is secure.
1. Back up your files
Copy everything you need to an external drive or cloud storage. Documents, photos, downloads, desktop files, and anything in your user profile folder.
2. Deauthorise software
If you use software with limited activations (Adobe Creative Cloud, Microsoft Office, antivirus subscriptions, music production software), deauthorise or sign out on this device first. You typically get a limited number of device activations, and you do not want one wasted on a machine you no longer own.
3. Sign out of your Microsoft account
Go to Settings > Accounts > Your Info and switch to a local account if you are using a Microsoft account. Then sign out. Also go to account.microsoft.com/devices and remove this laptop from your device list.
4. Reset with the "Remove everything" option and clean the drive
Go to Settings > System > Recovery > Reset this PC. Choose Remove everything. When prompted, select Change settings and turn on Clean data. This tells Windows to overwrite the drive rather than just deleting the file table. It takes longer, but it is significantly more secure.
On Windows 11, the option is called "Clean data" and you may also see "Download Windows" vs "Local reinstall" — either works fine, but local reinstall is faster.
5. Remove any external storage
Check USB ports for flash drives. Check the SD card slot. Remove everything.
6. Verify the reset
After the reset completes, the laptop should boot to the Windows setup screen asking for language, region, and account setup. Do not complete the setup. Just verify it reaches that screen and then shut it down.
Preparing a MacBook for Sale
MacBooks with Apple Silicon (M1, M2, M3, M4) or a T2 security chip handle encryption at the hardware level, which makes a proper erase extremely effective.
1. Back up with Time Machine
Connect an external drive and run a full Time Machine backup, or make sure your important files are in iCloud Drive or another cloud service.
2. Sign out of iCloud
Go to System Settings > [Your Name] and click Sign Out. This disables Find My Mac and removes the Activation Lock. Just like with iPhones, this is the most critical step. A Mac with Find My still active is unsellable.
3. Sign out of iMessage
Open Messages, go to Settings > iMessage, and sign out.
4. Deauthorise iTunes / Apple Music
Open the Music app (or iTunes on older macOS), go to Account > Authorisations > Deauthorise This Computer. You only get five authorised computers, so do not leave one attached to a machine you are selling.
5. Unpair Bluetooth devices
Go to System Settings > Bluetooth and remove any paired devices.
6. Erase and reinstall macOS
- Apple Silicon Macs (M1/M2/M3/M4): Shut down. Hold the power button until you see "Loading startup options." Click Options > Continue. Open Disk Utility, select your internal drive, and click Erase. Then close Disk Utility and select Reinstall macOS.
- Intel Macs with T2 chip: Restart and hold Cmd + R to enter Recovery. Use Disk Utility to erase the drive, then reinstall macOS.
- Older Intel Macs (no T2): Same process, but consider using Cmd + Option + R to boot to Internet Recovery, which installs the latest compatible macOS rather than the version that was on the drive.
After macOS reinstalls, the Mac will boot to the Setup Assistant. Do not complete it. Shut down and your MacBook is ready to sell.
If you have a MacBook to sell, you can get an instant quote on TechLoop right now.
Tablet-Specific Steps
Preparing an iPad for Sale
The process for iPads is virtually identical to iPhones:
- Back up via iCloud or a computer.
- Sign out of iCloud at Settings > [Your Name] > Sign Out.
- Go to Settings > General > Transfer or Reset iPad > Erase All Content and Settings.
- Remove the SIM card if your iPad is a cellular model.
- Verify it boots to the Hello screen.
Preparing an Android Tablet for Sale
Follow the same steps as an Android phone:
- Back up your data.
- Encrypt the device if it is not already encrypted.
- Remove your Google account.
- Disable Find My Device.
- Factory reset.
- Remove the SIM and microSD card.
For Samsung tablets specifically, also sign out of your Samsung account at Settings > Accounts > Samsung Account > Remove Account. Samsung has its own device lock (Samsung Find My Mobile) that works independently of Google's.
What NOT to Do
People make the same mistakes over and over. Here is what to avoid.
Do not just delete your files and call it done
Deleting files sends them to the recycle bin or trash. Even emptying the trash does not truly remove them. The data is still on the drive until it is overwritten. This is not preparation. This is the illusion of preparation.
Do not factory reset without signing out first
This is the single most common mistake, and it causes more buyback delays than anything else. On iPhones, a factory reset without signing out of iCloud leaves Activation Lock on. On Android phones, a factory reset without removing your Google account triggers Factory Reset Protection. Either way, the device is locked and the buyer cannot use it.
Do not send your SIM card with the device
It sounds obvious, but it happens constantly. Your SIM card is your phone number. It may also hold contacts if you have an older SIM. Always remove it.
Do not forget about wearables
If you have an Apple Watch paired to the iPhone you are selling, you must unpair it first. If you have Galaxy Buds or a Fitbit linked to the phone, remove them from the companion app. Sell the device, not your digital ecosystem.
Do not remove the screen protector (unless it is damaged)
A clean screen protector can actually help your device's grading. It shows the screen underneath has been protected. If the protector itself is cracked or heavily scratched, remove it, but if it is in decent shape, leave it on.
Do not perform a repair right before selling
It might seem logical to fix a cracked screen before selling, but third-party repairs can actually reduce your device's value with some buyers. They may flag non-original parts during inspection. If your device has damage, sell it as-is and let the buyer handle repairs. TechLoop accepts broken devices and prices them transparently based on condition.
How Proper Preparation Affects Your Payout
Here is a practical comparison of what happens when you prepare properly versus when you do not.
| Scenario | Outcome |
|---|---|
| Device arrives with Find My active | Payment delayed. You will be contacted to remove the lock remotely. If unresolved, device may be returned. |
| Device arrives with Google FRP lock | Same as above. Cannot be resold until the lock is removed. |
| Device arrives clean and unlocked | Graded and paid within the same day. No delays. |
| Device arrives with heavy personal data visible | Buyer wipes it anyway, but it signals poor preparation and may prompt a more cautious inspection. |
| Device arrives with original box and accessories | No impact on TechLoop's quote, but helpful for private sales. |
The bottom line: a 15-minute preparation process is the difference between same-day payment and a week of back-and-forth emails.
The Quick-Reference Checklist
Print this, screenshot it, bookmark it. Run through it every time you sell a device.
All Devices:
- Backed up all important data
- Signed out of primary account (Apple ID / Google / Microsoft)
- Disabled Find My Device / Find My iPhone / Find My Mac
- Removed SIM card and microSD card
- Unpaired Bluetooth accessories and wearables
- Factory reset (with encryption and clean wipe where applicable)
- Verified device boots to setup screen
- Removed from your account's device list online
iPhones (additional):
- Unpaired Apple Watch
- Deregistered iMessage (if switching to non-Apple)
Android Phones (additional):
- Encrypted before resetting (if not encrypted by default)
- Removed Samsung account (Samsung devices)
- Disabled screen lock before reset
MacBooks (additional):
- Signed out of iMessage
- Deauthorised iTunes / Apple Music
- Erased drive via Disk Utility in Recovery mode
Windows Laptops (additional):
- Deauthorised licensed software
- Used "Clean data" option during reset
- Removed from Microsoft account device list
Ready to Sell?
Once your device is prepped and clean, the hard part is done. Getting your quote takes about 30 seconds.
Head to TechLoop's sell page, select your device, answer a few honest questions about its condition, and get an instant price. If you are happy with it, TechLoop locks that price for 21 days, sends you a free postage pack, and pays you the same day your device is received and checked.
No hidden deductions. No surprises. Just a fair price for a device you have taken the time to prepare properly.
You can also learn more about how TechLoop's grading works or see the full step-by-step process from quote to payment.
Your old device has value. Prepare it properly, and you will get every penny of it.
Ready to find out what your device is worth?
Get your free instant trade-in price in 60 seconds. No obligation, no sign-up required.
Get My Instant Trade-In PriceRead next
How to Factory Reset Your iPhone Before Selling
Step-by-step iPhone reset guide before selling, including backup, Find My iPhone, iCloud sign-out, data wipe, and final checks.
How to Wipe Your Laptop Before Selling: Windows & Mac Guide
Deleting files is not enough. Learn exactly how to factory reset a Windows or Mac laptop before selling to protect your personal data completely.
Sell Your Phone UK: Get the Best Trade-In Price
Find out what your old phone is worth and how to sell it fast in the UK, with a locked quote, free postage, and same-day payment.